
Most websites include elements are repeated from one page to another. For example a logo, menu navigation, a header and footer ... Foliokit allows you to save time because you do not recreate these manually on all your pages. You can simply create templates that contain these elements, then attach these templates to your pages.
Here are some explanations on the functioning of the templates in Foliokit.
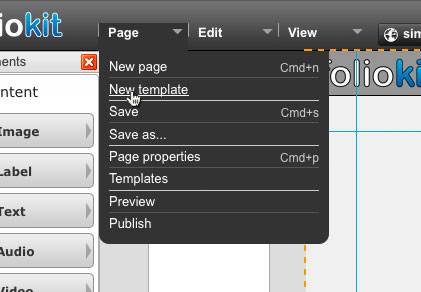
Creating a templateTo create a template, go the editor and click the menu Page -> New template:
Name your template, then create your layout as for a normal page. Save your work once you're happy with it.
Attaching a template to a pageGo to the page of your choice (or create it), then click the menu Page -> Templates. A list of the available templates and of the ones already attached to the page appears:
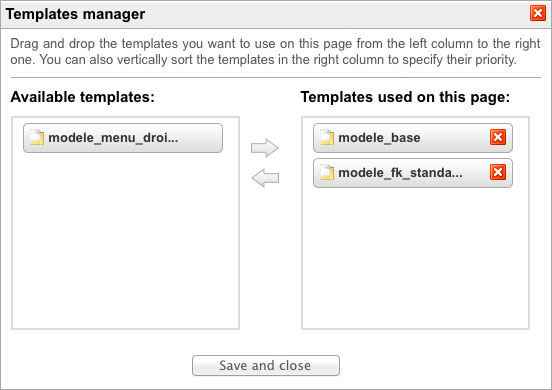
Click and drag the templates that you want to use in your page to the right column. Once the templates are added to the right, you can change their vertical order to define how they will be appear on the page. The top template is the one from which the background and canvas will be used. Elements from the other templates will be added on top of each others.
Once your templates added, click on Save and Close, a dialog box offers you to reload the page to see the changes: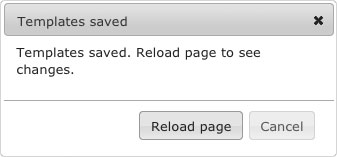
Modifying a page with templatesOnce a template is assigned to one or more pages, all changes made to this template will be automatically applied to all the pages containing it. You can, however, change the size of the canvas of your pages independently. This allows you to easily adjust the height of a page to its content even if templates are applied to it.